How To Activate And Use The New Do Not Disturb Feature in iOS 6
There are moments in life when the ring of the phone might intervene inadequately. But Apple has a solution to this. Whenever you’re busy, you can choose to be busy only to certain people. God knows your boss might try to reach you or your parents might have something important to communicate to you. This is where the Do Not Disturb feature on the new iPhone comes in. It lets you pick the contacts you want to be permanently into contact with and disregard the rest in certain parts of the day.
iOS 6 lets you control who and when can come in contact with you. It allows the setting of periods of time during which app alerts, phone calls and incoming text messages won’t pester you with their presence. All you have to do is figure out who gets to call you and who won’t, so make a list of your loved ones and one containing the most important contacts in your address book and merge these two to be included via the new feature of iOS 6.
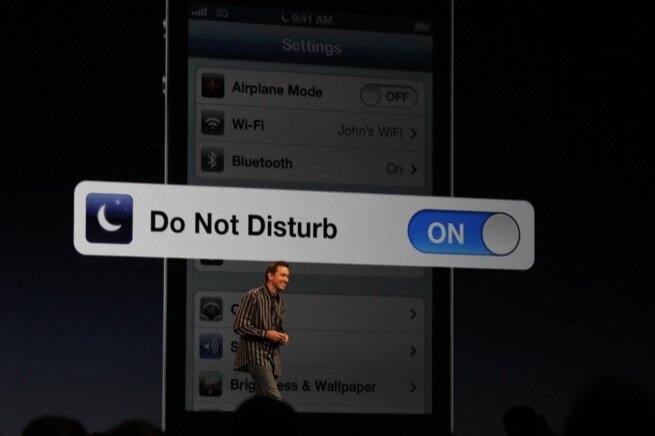
What you need to accomplish this is an iPhone, iPod Touch or iPad that can run the newest version of iOS. You need to enable Do Not Disturb. the way you do this is you go the Settings app and move the slider right next to Do Not Disturb to the On position. What you can further do is schedule when this new feature kicks in, and this is where we’ll teach you how to do just this. Just pay attention and keep reading and you’ll not be disturbed again!
How To Activate and use the Do Not Disturb Feature in iOS 6
Tap the Settings app icon and then go to Notifications. Tap Do Not Disturb and this is where we’ll configure the feature. Be sure to move the slider button to “On”. Accent on the From/To box from where we’ll move the wheels to set a time for when Do Not Disturbed will be active or disabled. To let specific callers reach you during this time tap Allow Calls From. You can specify here which groups of contacts you are accepting calls from. You could choose Favorites since therein people store the names of the ones they get most important calls from. Since the iPhone won’t let you create such lists for now you’ll have to use a desktop software program on your OS X or Windows machine (Address Book or Outlook are good examples of such software). Create them using these tools then sync everything back to your iPhone. Then all you need to do is tap this group you have just created.
But there are times that not everyone on the blocked list should be disallowed to reach you. Times involving emergencies and such, in which case you don’t want the Do Not Disturb feature to block these people. This is where Repeated Calls comes in. Slide it to “On”. What it does is allow a person to call you if the same person tried to call you twice in the same three minutes time. Their call will go through if Repeated Calls is enabled, no matter if that person is on you allowed list or not.


